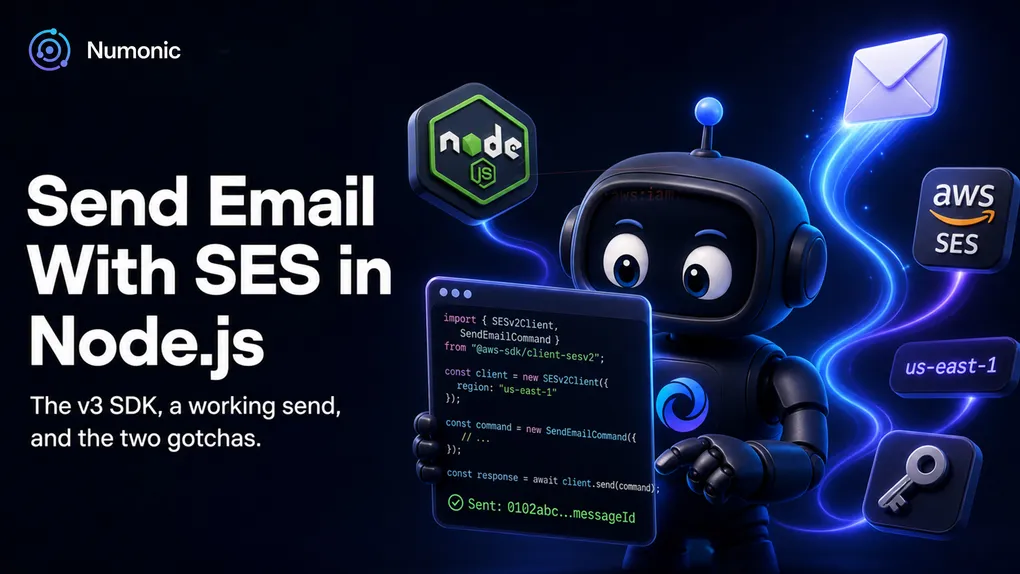
How to Send Email With Amazon SES in Node.js (That Actually Works)
 By Brian Havelka · · 3 min read
 Sending email through Amazon SES in Node.js is a few lines of code. Getting it to actually send on the first try is where people lose an afternoon — usually to one of two silent gotchas.
Here’s the version that works, and the two things to get right so it works the first time.
Install the v3 SDK
Use the modern, modular v3 SDK — specifically the SES v2 client:
npm install @aws-sdk/client-sesv2Use @aws-sdk/client-sesv2 and SendEmailCommand — not the old v1 SDK. v2 is simpler, actively maintained, and (as of 2025) handles attachments for you.
A Send That Works the First Time
import { SESv2Client, SendEmailCommand } from "@aws-sdk/client-sesv2";

const client = new SESv2Client({ region: "us-east-1" }); // must match your verified region

const command = new SendEmailCommand({
  FromEmailAddress: "noreply@yourdomain.com", // a verified identity
  Destination: { ToAddresses: ["you@example.com"] },
  Content: {
    Simple: {
      Subject: { Data: "Hello from SES" },
      Body: { Text: { Data: "It works." } },
    },
  },
});

const response = await client.send(command);
console.log("Sent:", response.MessageId); // log this — you'll need it later
That’s the whole thing. Now the two gotchas.
Gotcha 1: The Region Has to Match Where You Verified
SES is regional. The region on your client has to be the same region where you verified your domain or email address.
A client set to us-east-1 sending against an identity you verified in eu-west-1 will fail — the identity simply doesn’t exist in the region the client is talking to. Set region to wherever your identity actually lives.
Gotcha 2: Credentials — and Not the Ones You’re Thinking Of
This trips up almost everyone: the SDK does not use your SMTP credentials. Those SMTP username/password pairs are only for the SMTP interface.
The SDK uses your AWS credentials — from environment variables, a shared profile, or (in production) the role your app runs as. On Lambda that’s the execution role; on EC2, the instance role.
And whichever identity provides those credentials needs ses:SendEmail permission — or you’ll get the classic User is not authorized to perform ses:SendEmail. If you hit that, it’s a permissions problem, not a code problem. (Here’s the one-policy fix.)
Log the Message ID
Notice that last line — response.MessageId. SES hands you a unique ID for every accepted message. Log it, next to the user you sent to.
It feels pointless now, but it’s the one thing that makes bounces traceable later: when a bounce or delivery event comes back, it carries this same ID, so you can match it to a real user and a real send. Skip it now and future-you can’t tell which failure belongs to whom.
Bonus: Attachments Are Built In Now
If you need to attach a file, you no longer have to hand-build a raw MIME message. As of 2025, the v2 SendEmail call takes an attachments field — you pass the filename and the raw content, and SES constructs the MIME for you. Reach for that before you reach for SendRawEmail.
The One Thing Nobody Tells You
Your very first test send will probably fail — and it won’t be your code.
New SES accounts start in the sandbox, where both the From and the To addresses have to be verified. So a test to a random Gmail address gets rejected with “email address is not verified.” That’s not a bug; you’re just still in the sandbox.
Verify a test recipient (or send to your own verified address) to confirm your code works — then request production access when you’re ready to send to real users.
The Pattern Underneath
The SES send itself is trivial. Everything that goes wrong lives around it: the wrong region, the wrong credentials, or the sandbox. Get those three right and Node + SES is boring in the best way — which is exactly what you want from the thing that sends your password resets.